
How to Hold a Brush Pen (and Other Tips!)
November 7, 2019
I’ve written about my all-time favourite brush pens already, so now it’s time to go back to basics and share some tried-and-true tips about how to get a grip on setting up your workspace (….see what I did there?? 😅). Maybe you’ve splurged on some tools already, or maybe you’re attending one of my in-person workshops.
Before jumping in too quickly and getting discouraged, I recommend doing the following first:
Learn the Basic Mechanics


The number one basic concept of calligraphy, is that letterforms are made up of a series of upstrokes and downstrokes. It’s the contrast in stroke thickness that achieves the look of calligraphy. But you don’t have to go out and buy a brush pen to start practicing this concept! My Faux Calligraphy Tutorial is a great place to start.
Use Proper Guidelines


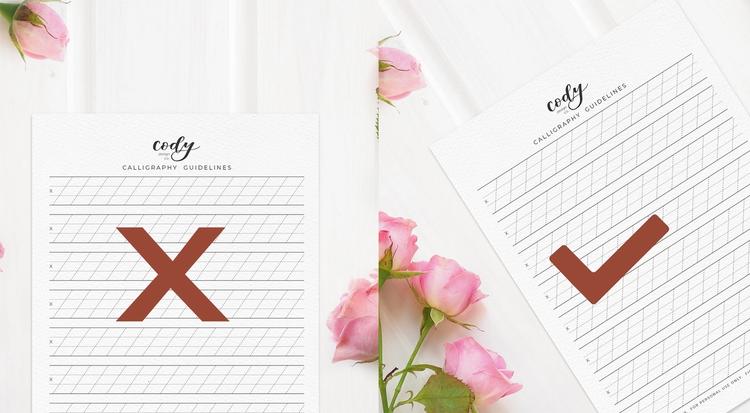
Literally no one is going to be good at calligraphy right off the bat, with no structure whatsoever. I always tell my workshop students that there is no shame whatsoever in using guidelines, and the best calligraphers use them in some shape or form for their projects. Using guidelines to practice your drills is the best way to achieve consistency, which is key to clean, professional looking calligraphy. You’ll get a whole package of guidelines, worksheets, examples and templates at my in-person workshop!
Set Up Your Workspace

Make sure the slant lines are vertical run toward you.
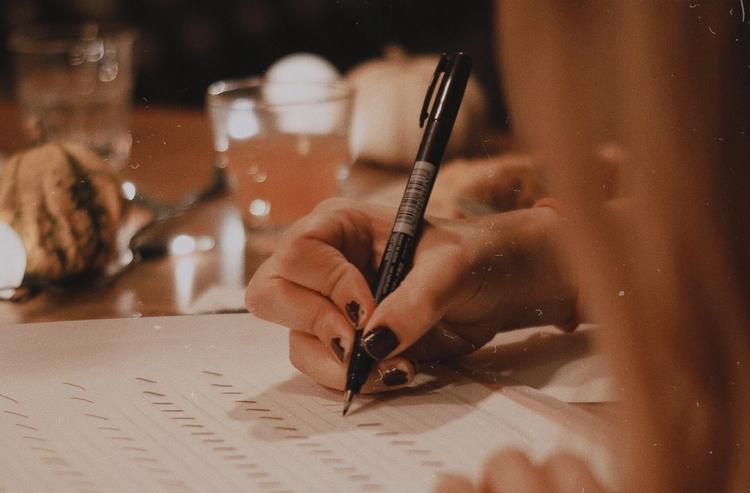
See those slanted lines that run at a 55° angle throughout your guidelines? They are meant to guide your up and down strokes to create that nice slanted look of calligraphy. You can always change up the angle of your slant lines depending on your preference, but I do find it’s easier to learn with a slant, than practicing a very vertical style first and adding a slant later on. The trick to make this slant a lot easier to achieve is to actually tilt your paper on an angle so that the slant lines run toward you – if the slant lines kept running all the way down and past the sheet of paper, it would run straight toward you.
Get the Right Grip

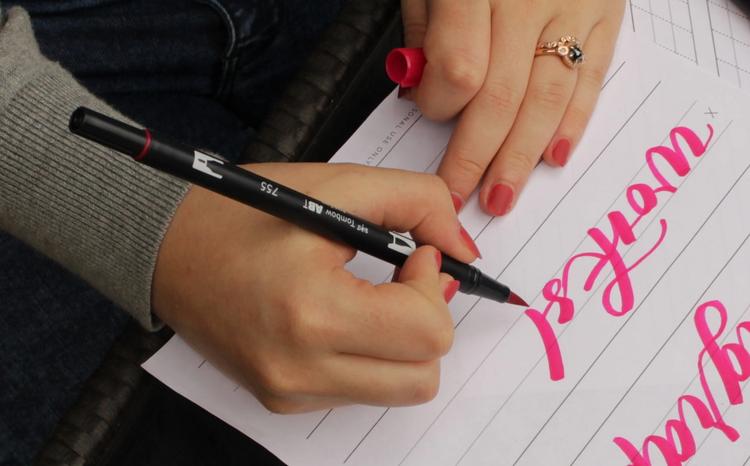
Most of us were taught as children to hold a pen straight up, perpendicular from the paper, creating a 90° angle. Of course, this makes sense for a ballpoint pen or pencil. But a brush pen has a flexible tip, and requires you to use the side of the brush tip more than the very point of the tip. This means that you actually need to hold your brush pen at more of a 45° angle, so you can use the side of the brush tip to create those thicker strokes.
Find the Right Instruction!

Learn modern calligraphy in a cozy cafe setting.
A quick youtube search will show you so many free resources out there to continue learning. However, when I started learning calligraphy a couple of years ago, it wasn’t until I took the leap and registered for a workshop that things actually clicked. Having a professional structure your time and break down your introductory practice into manageable, bite sized tutorials can help speed the learning process up significantly.


