Tutorial: Faux Calligraphy
September 4, 2019
Before going out and buying all brand new tools and jumping into brush or dip pen calligraphy, faux calligraphy is a great way to master some of the fundamental concepts, with a simple pen that you already have at home!
WHY LEARN FAUX CALLIGRAPHY?
Faux calligraphy is a way to achieve the look of brush or dip pen calligraphy without needing to use a brush pen or a nib. It’s an especially useful technique when lettering on nontraditional surfaces such as chalkboards, mirrors and acrylic.
STEP ONE: WRITE YOUR LETTER, WORD OR PHRASE

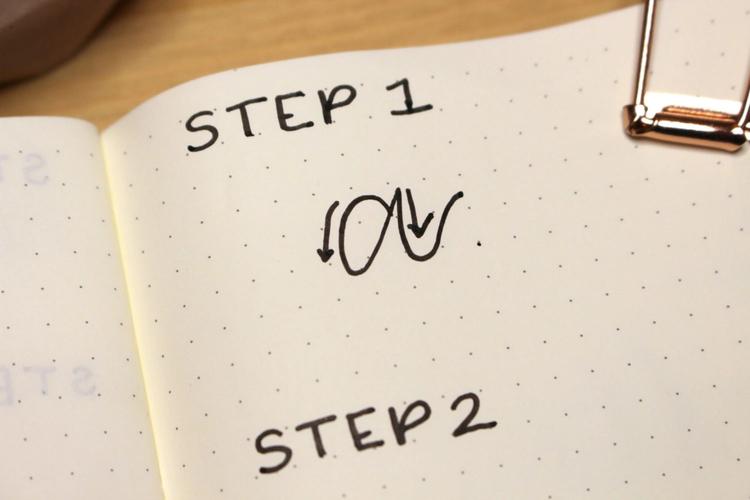
It’s important to leave space in between letters and give your strokes lots of room to breathe.
Take note of where the “down” strokes are in your letters, because brush or dip pen calligraphy technique involves applying pressure on downstrokes, and releasing pressure on your upstrokes.
STEP TWO: REINFORCE YOUR DOWNSTROKES

Draw lines that run parallel to your downstrokes.
STEP THREE: FILL IN YOUR DOWNSTROKES!

The contrast of your downstrokes and upstrokes will strongly resemble modern calligraphy! Knowing the difference in thickness between downstrokes and upstrokes will also help you greatly once you start playing with brush pens.
This technique works well with a simple monoline pens, as well as Sharpie chalkpaint markers (used for chalkboard calligraphy).
When you’re ready for the next step, check out my favourite brush pens or book a spot in one of my upcoming Brush Calligraphy Workshops!


